
Why a bookmatched slab is laid out in AutoCAD first
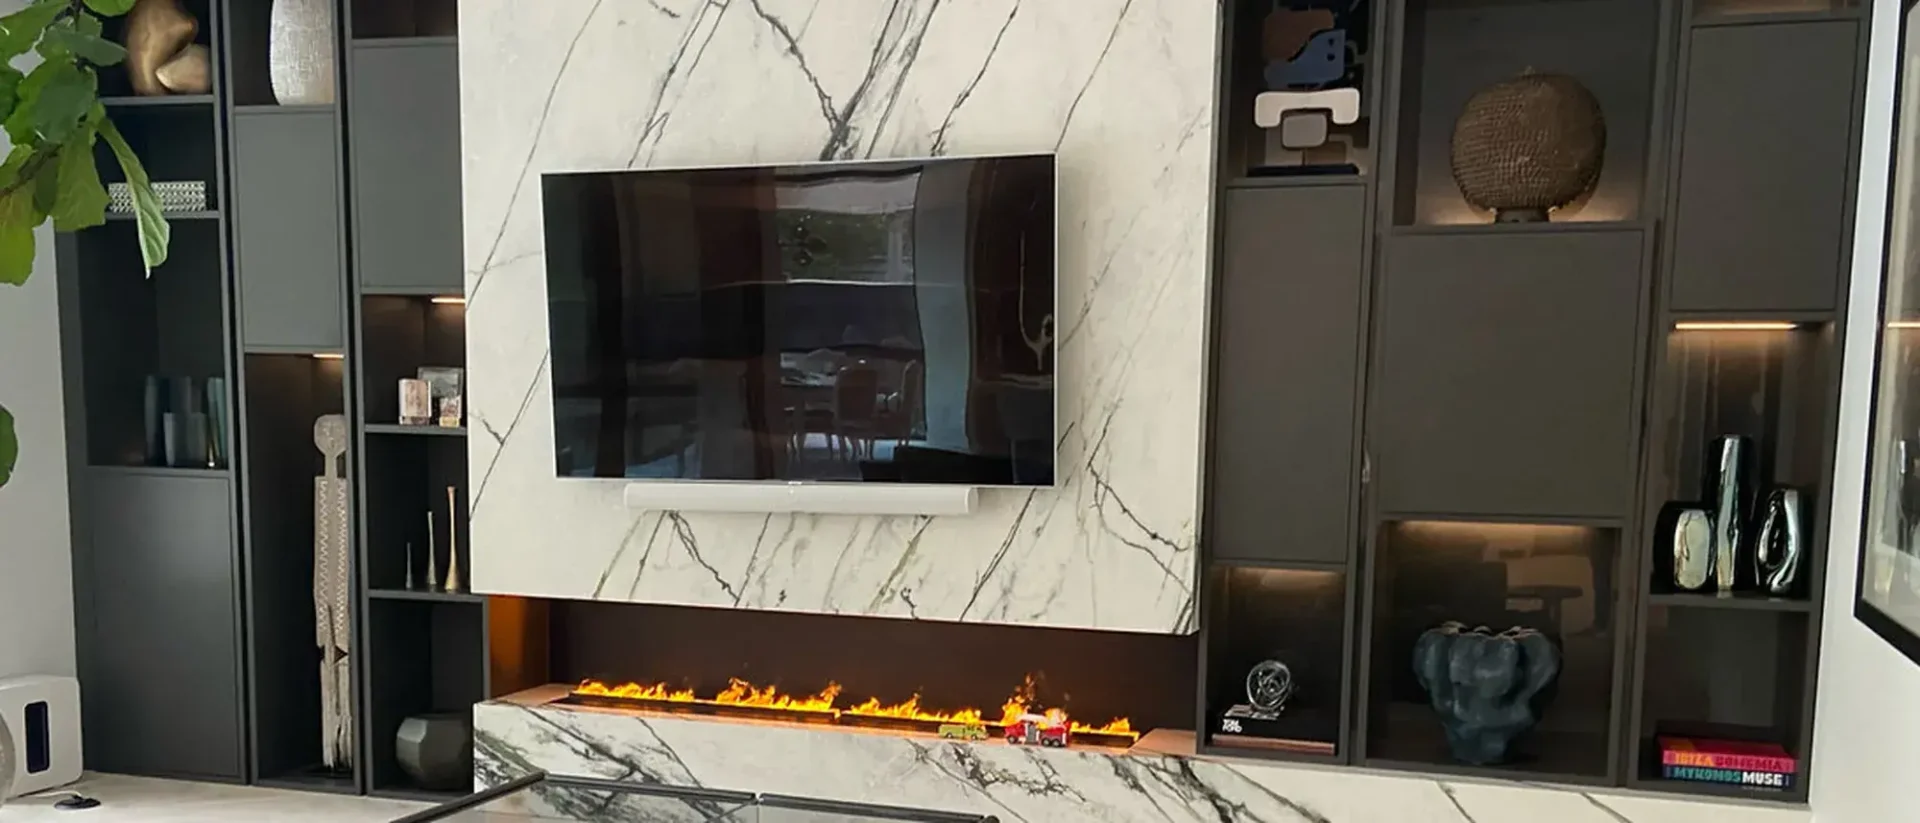
Two sheets cut from the same block mirror each other, and the veining only reads as one piece of stone if the seam lands where the pattern says it should. So the wall gets built first in AutoCAD — before a single sheet goes up.
Bookmatching is the oldest trick in stone and the easiest one to get wrong. Two sheets are cut from the same block, one straight after the other, and the second is turned over so the two faces meet like a page and its reflection. Done properly, the wall reads as one enormous piece of stone that happened to be quarried the width of your living room. Done carelessly, it reads as two expensive sheets that do not quite agree.
The difference is almost never the material. It is where the seam falls, which way round each sheet goes, and what gets cut out of them once they are up. All three are settled before any stone is cut.
The pair is ordered as a pair
A bookmatch cannot be assembled later out of whatever is in stock. The two sheets have to come off the same block in sequence, and they have to be reserved together at the supplier, before either of them is sold to somebody else building a shower wall. That is the first thing that happens on a project like this, and it happens well before demolition.
It is also why a damaged sheet is a different kind of problem than a damaged tile. A replacement will be the same colour, the same finish and the same name in the catalogue — and it will not mirror the sheet it has to stand next to.
Why in AutoCAD first?
A dry-lay is exactly what it sounds like. The sheets are loaded into AutoCAD in the manner they will hang, and get looked at. Nothing is fixed to anything. Everything can still move.
In AutoCAD, changing your mind costs a few minutes and two pairs of hands. On the wall it costs a sheet.
A slab is not tile. Unless you are buying man-made stone, there is no second box in the warehouse with the same veining in it.
What the dry-lay decides
- Where the seam lands. Centred on the room, centred on the firebox, or deliberately off to one side so it does not run through the part of the pattern everybody was buying.
- Which sheet goes left. The mirror only works one way round. Turn the pair and the veining either opens outwards from the joint or drives into it — same two sheets, a different wall.
- What happens to the cut-outs. A television bracket, a linear fireplace, an outlet, a niche: each one takes a piece of the pattern away. In AutoCAD you can see which vein you are about to cut through, and move the sheet before you do.
- Where the join goes if the wall is taller than a sheet. Above eye level, behind cabinetry, or in the one place nobody looks from — decided on purpose rather than by whatever is left over.
What it costs, and what it saves
It costs nothing other than the time to review the renderings.
What it saves only ever shows up when somebody skipped it: a seam straight through the middle of the feature, a bracket cut through the one vein the wall was chosen for, a pair hung the wrong way round so the pattern points inwards. None of that is fixable with caulking or a strip of trim. The fix is another sheet — if the block still exists.
What to ask at the rendering stage
- Ask to see a few options, especially if your stone has veins. A few renderings of the pair, as they sit at the fabricator, is a normal thing to expect.
- Ask where the seam(s) will fall and what it lines up with in the room — the firebox, the ceiling, the edge of the cabinetry.
- Ask what is being cut out of the wall, and who decides where those cut-outs land in the pattern.
None of this is exotic. The same order of operations applies to a shower wall, a fireplace surround and a waterfall island: lay it out, look at it in the way it will be used, then hang it. The material changes; the order does not.